My love of the Square Knot - a 'how to' guide and why it's one of the best knots to learn.
The square knot was one of the first knots I learned and has somehow become my favourite knot and the one I have created lots of projects with.

It's one of the fundamental knots in macramé and can be used in a huge variety of projects, from basic coasters and plant hangers to bags and wall hangings. Once you've mastered it, you'll find yourself tying it almost without thinking – and that's when the calming, mindful rhythm of macramé really begins.

My love of the square knot has developed over the time I have been running my workshops. I find it the easiest knot to teach and many of the projects we make, use it as the base. I do this deliberately. It shows the people who come to my workshops what you can do with just one knot and the repetition of this also gives them the confidence to continue their macrame journey after the workshop.
You’ll see from the guide below that the square knot is made by tying two half square knots in opposite directions. That simple change gives you another useful technique: to make the half square knot sinnet, which creates the twist you often see in plant hangers and key rings. If you wanted to have a go at this knot, check out my make it yourself key ring kit which gives you all the materials needed to create this twisted effect key ring. It makes a great beginner’s project or a lovely gift for a budding crafter, whether they’re a child or an adult.
How to create a square knot.

You will need two lengths of cord. Fold each cord in half and attach them to your chosen stick or ring. If you're just practising, you can simply pin each folded cord to a cushion or cork board by the loop.
You should now have four cords hanging down. For these instructions, we'll refer to them as positions 1–4, from left to right. The outer cords (positions 1 and 4) are your working cords, while the two middle cords (positions 2 and 3) stay in the centre and are called the filler cords.
As the cords cross over while you're tying the knot, we'll keep referring to their starting positions to make the instructions easier to follow.

Take the cord in position 1 and pass it over the two filler cords (positions 2 and 3), then under the cord in position 4. This creates a shape that looks like the number 4.

Take the cord from position 4 and pass it underneath the two filler cords. Then bring it up through the loop (the triangle) created by the first working cord. Holding both working cords, gently pull them outwards until the knot sits neatly beneath your stick, ring or pins.
You have now completed a half square knot.


To complete the square knot, repeat the same process in reverse. This time, take the cord from position 4 and pass it over the two filler cords, then under the cord from position 1, creating a mirror image of the number 4 shape.
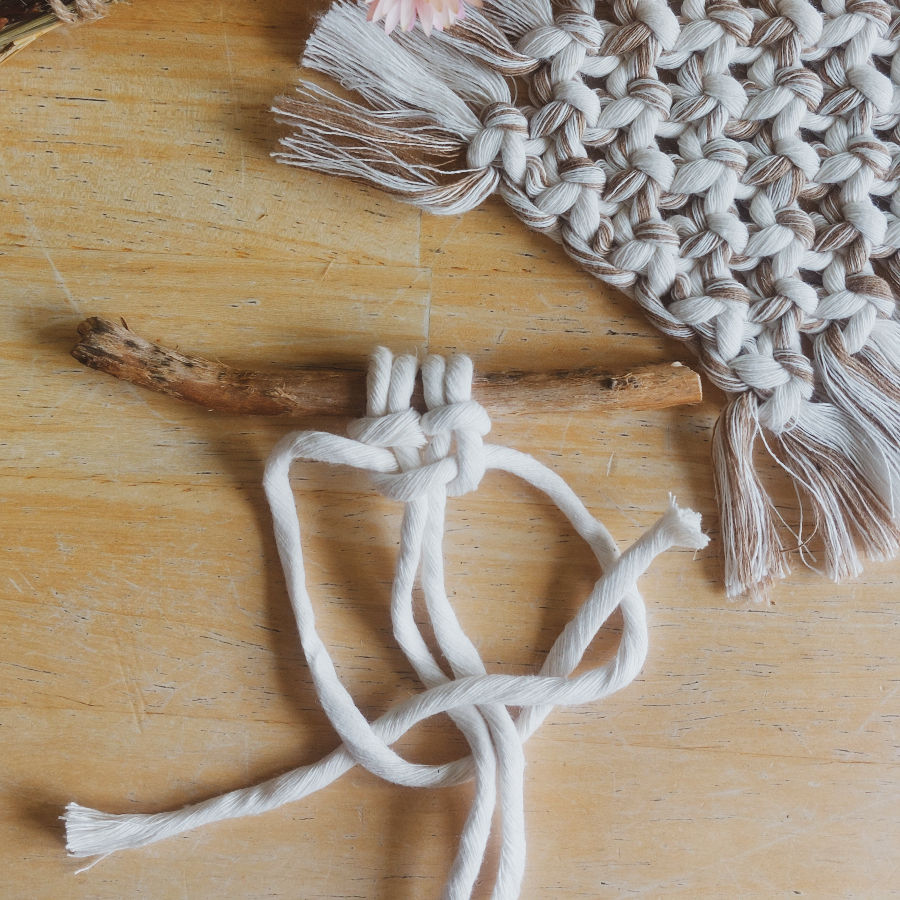
Next, take the cord from position 1 and pass it underneath the two filler cords before bringing it up through the loop created by the other working cord. Pull both working cords outwards until the knot sits neatly underneath the first half.
Pull the cords evenly to tighten the knot, and you've completed your first square knot.
My Biggest Tip
Don't worry if you don't get it straight away. It can feel a little fiddly when you’re learning and your first few knots might not look quite as neat as you’d like., and that's all part of learning. If your work starts to twist into a spiral instead of lying flat, you've simply tied two half square knots in the same direction. Alternate between starting from position 1 and then position 4, and your square knots will soon sit nice and flat.
And this is why I love the square knot ..

Key rings 
Plant hanger 
Wall hanging 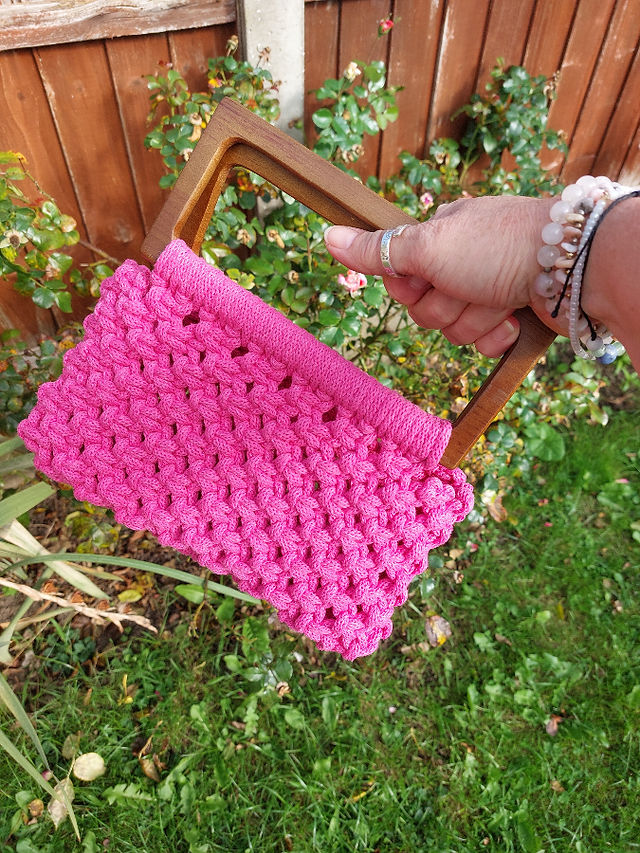
Bag
A key ring: A simple example of how repeating half square knots creates that lovely twisted effect.
Plant hanger: one of the projects I use regularly in my workshops because it’s a great way to practise the square knot (soon to become a pattern and a kit – keep your eye out for this announcement)
Wall hanging: The same knot can create patterns and look different depending on how you arrange it.
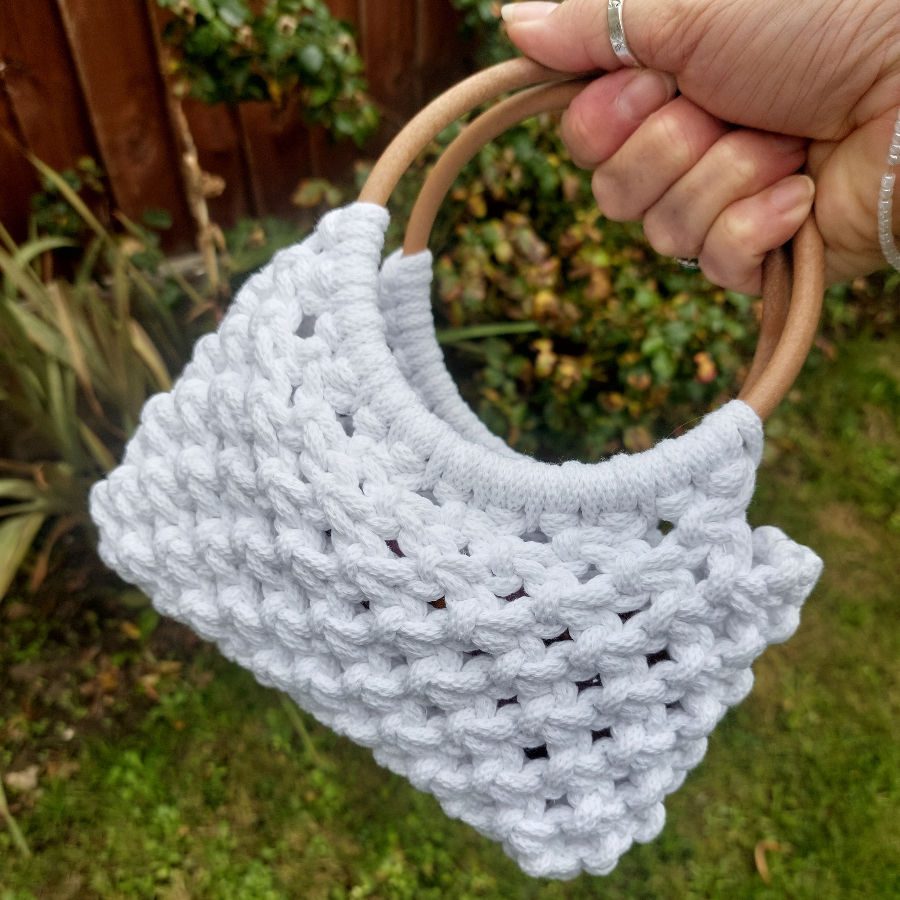
Bags: My current favourite square knot project – custom in colour and handle choice. I have loved making bags using the square knot and this pink commission was a fabulous colour choice. We opted for rectangular handles, but round ones are also an option, like in the white version below. This one was made for a special holiday trip in the sunshine.
If you have fallen a little bit in love with the square knot but don’t feel ready to tackle a project yourself, no matter how big or small, my inbox is always open for commissions.
This is a great way to have just what you want in your personal colour choice made for you. I also have some ready-made items in the online shop section of my website.


Comments